While our dancers have been on holidays, we’ve been busy fitting out our new studios. If you can imagine renovating an entire two-storey house (including the kitchen and bathrooms), and that all the rooms in that house are at least 6m x 6m, that gives you an idea of what we’ve been up to and why the process had been so extensive. We thought we’d fill you in on all the work that’s been going on so far!
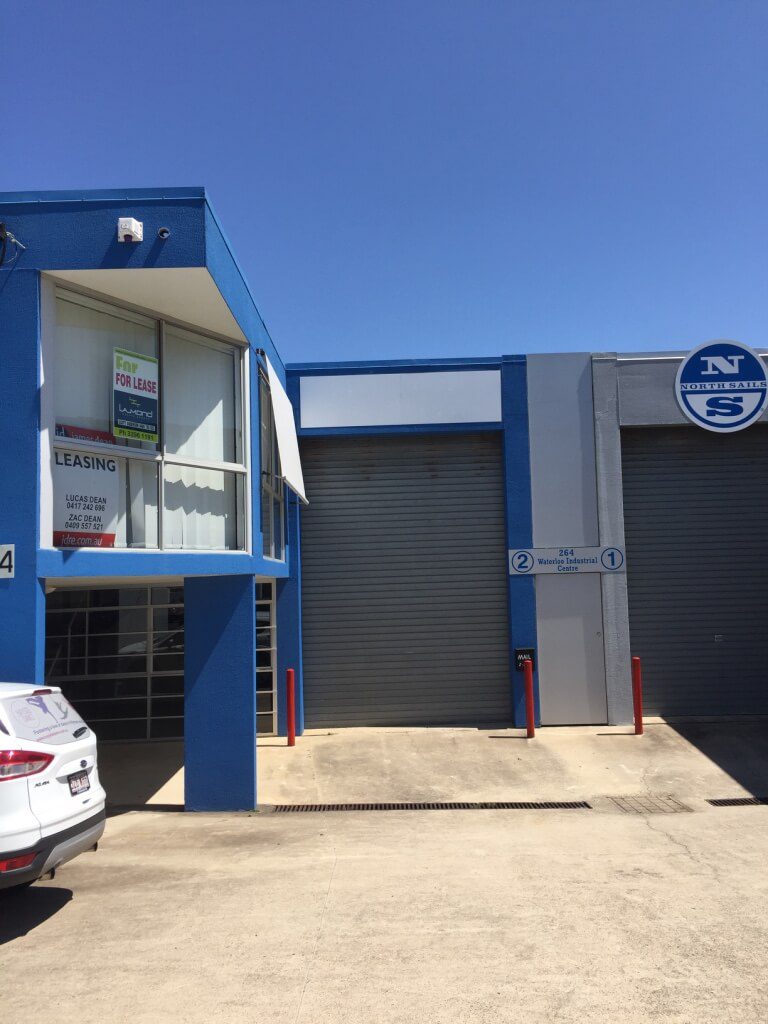
Step One: Finding a premises. We’ve been looking for our own premises for a long time! Bayside Dance has grown to have over 300 families coming to dance class every week, and as lovely as some of the halls that we’ve been using are, limited availability and having to use different venues for every day of the week meant that it was time to find our own home. When we discovered this empty warehouse on Tingal Road we fell in love, and construction began!
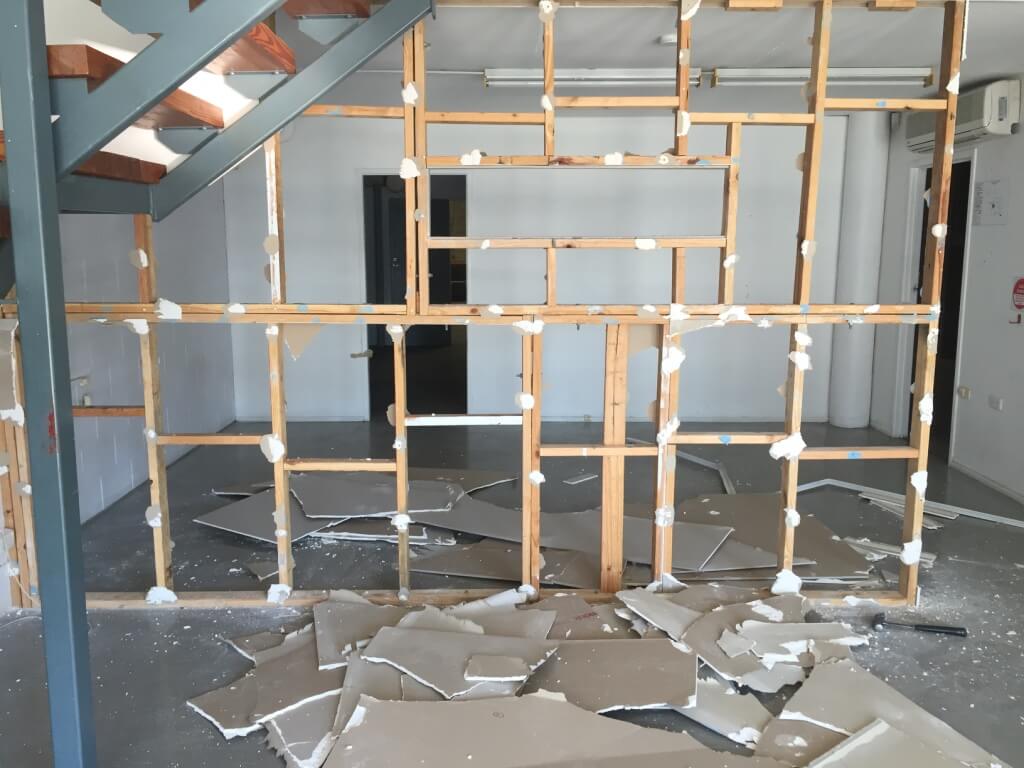
Step Two: An empty shell. In order to make the space our own, we had to take down some walls, take down shelving and rip out some of the old electrical wiring (with the help of an electrician of course). We also ripped out an old kitchenette and some air conditioning units that had seen better days.
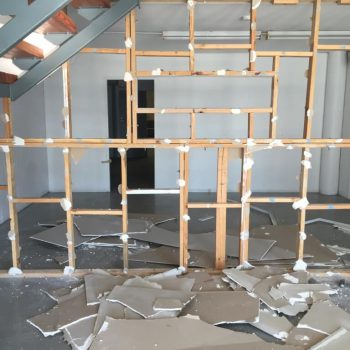
Step Three: Building it back up again. We then had to build some walls in the right places, and also get some new lights wired in our downstairs studio. We replaced the old kitchenette, added sliding glass doors to our upstairs studio and built in the walls for our changing rooms.
Step Four: Keeping cool. We had air conditioning installed in our waiting room and downstairs studio to keep our dancers cool in the summer months. The proceeds of our raffles at our 2016 concert went towards purchasing the air conditioning units.
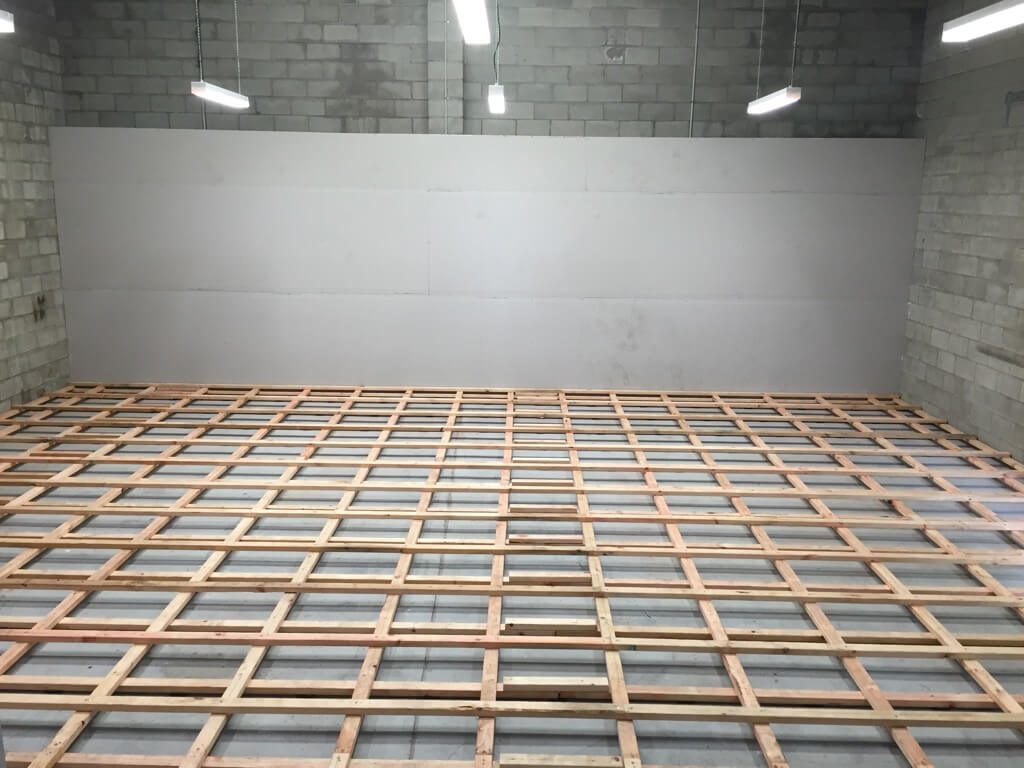
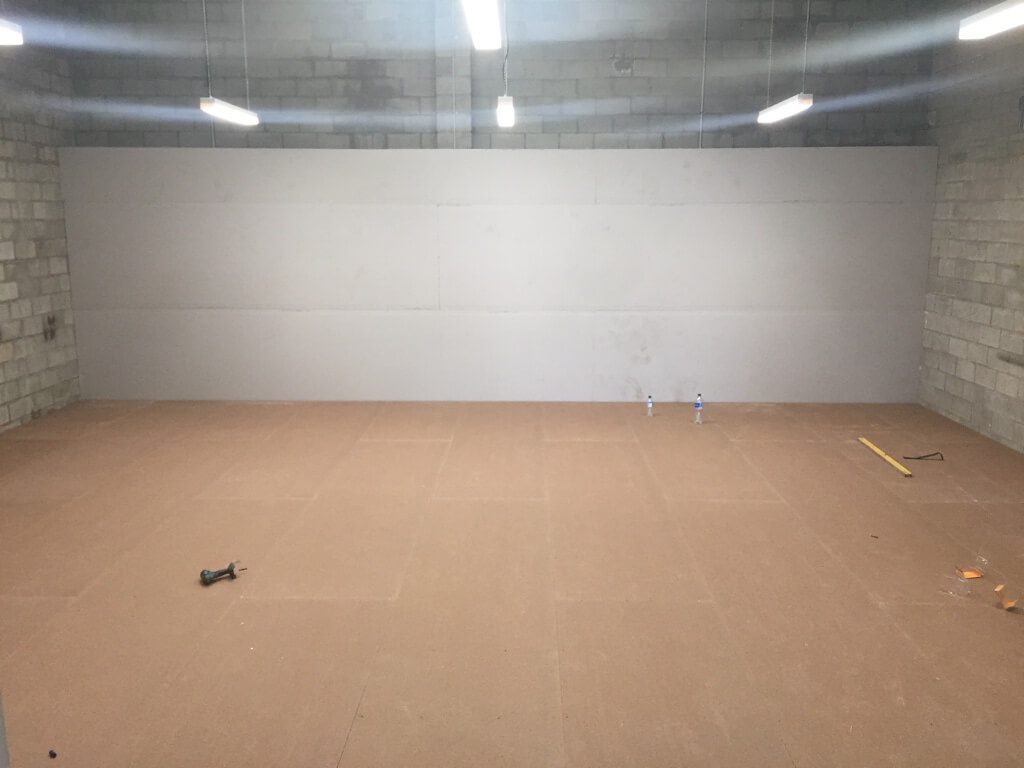
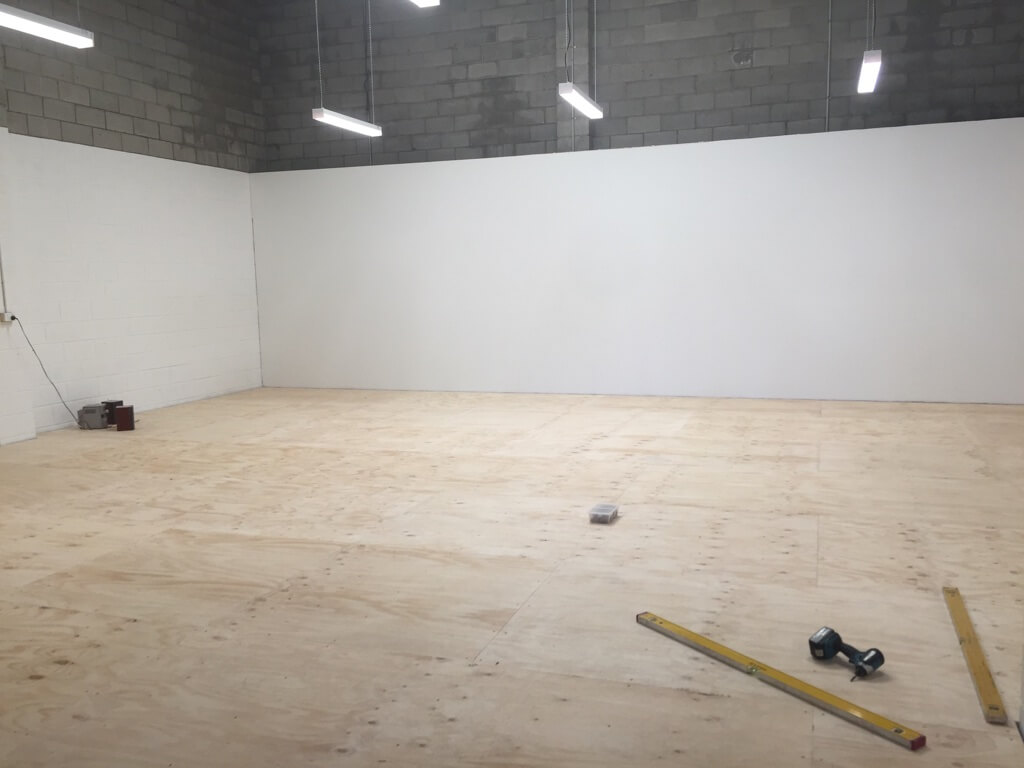
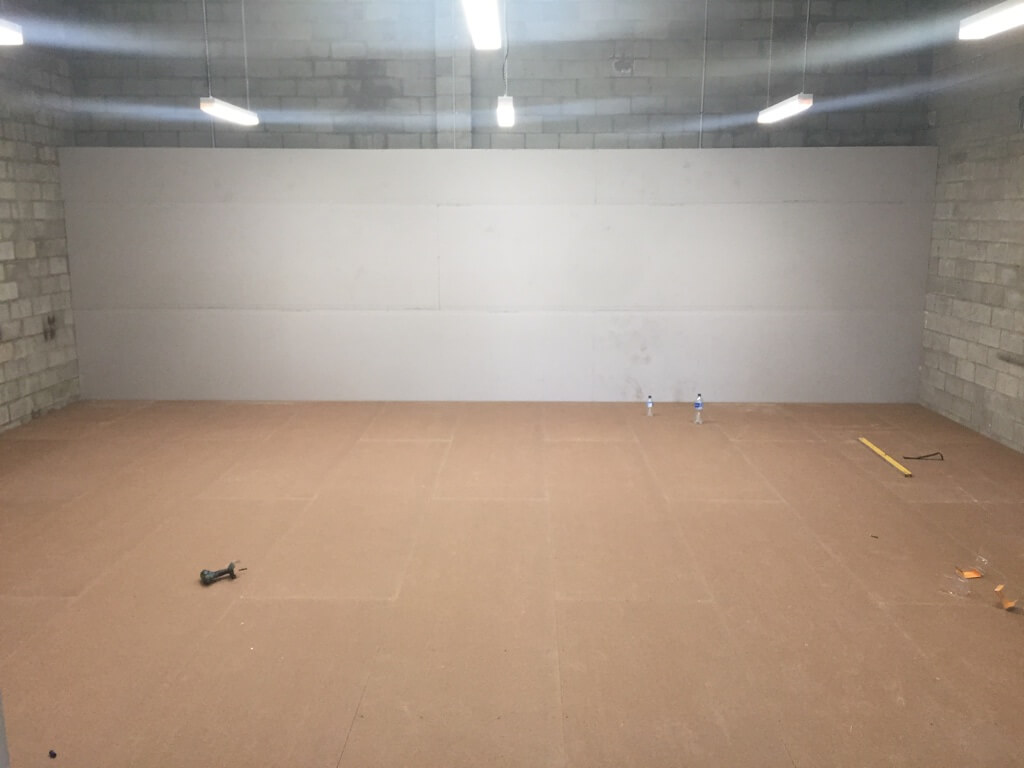
Step Five: Dance floors. We wanted to provide the best possible flooring for our dancers within the budget we were working with. Luckily, Miss Kaitlin had the forward thinking to get married to a carpenter! He built our sprung floors in our upstairs and downstairs studios. “Sprung” means that the floor has space underneath it and that it provides a little cushioning when you land. This helps to protect our dancers against injury. This was a very in depth process, involving foam pads, layering timber in different cross patterns, and layers of pine boards on top (in both our upstairs and downstairs studios). The boards then had to be sanded and then varnished. The end result is pretty spectacular!
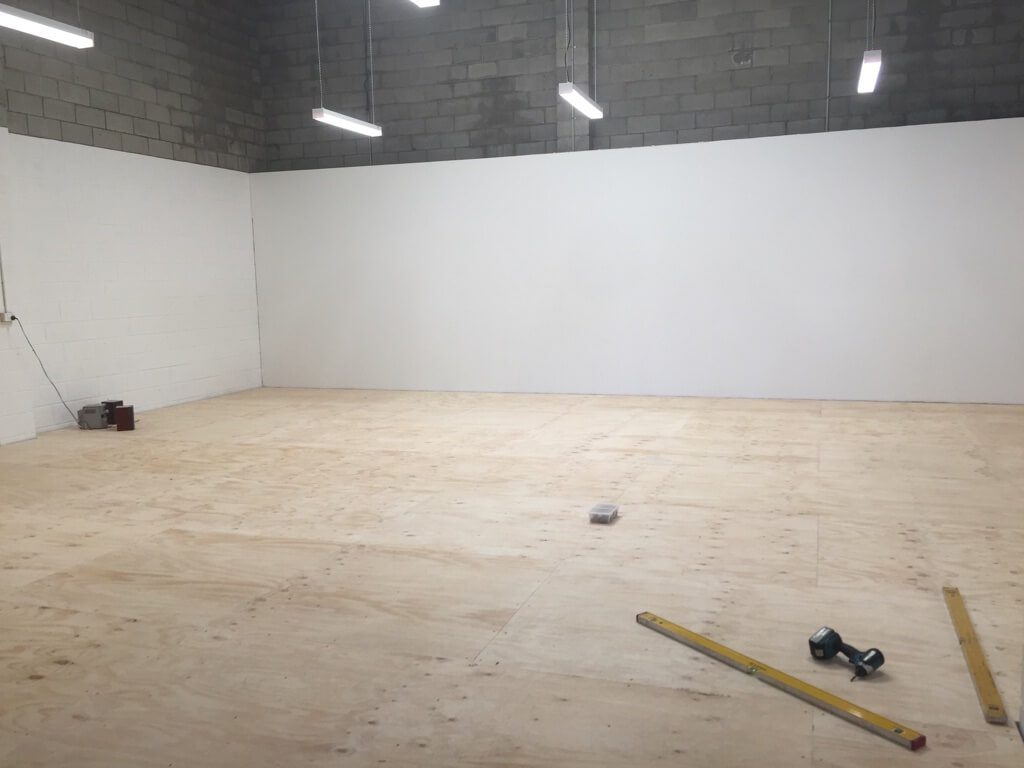

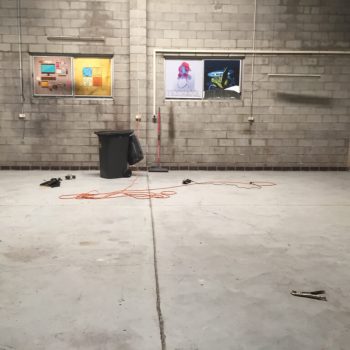
Step Six: Paint, paint and more paint. As paint jobs go, the existing paint work in the warehouse was pretty awful! So we had to paint EVERY wall. Every. Single. Wall. Miss Kaitlin is pretty handy with a paintbrush now!
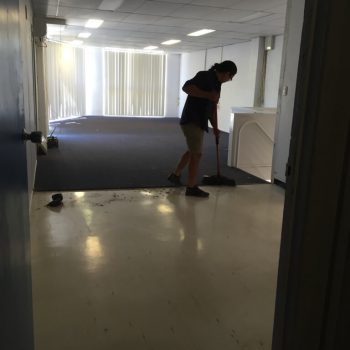
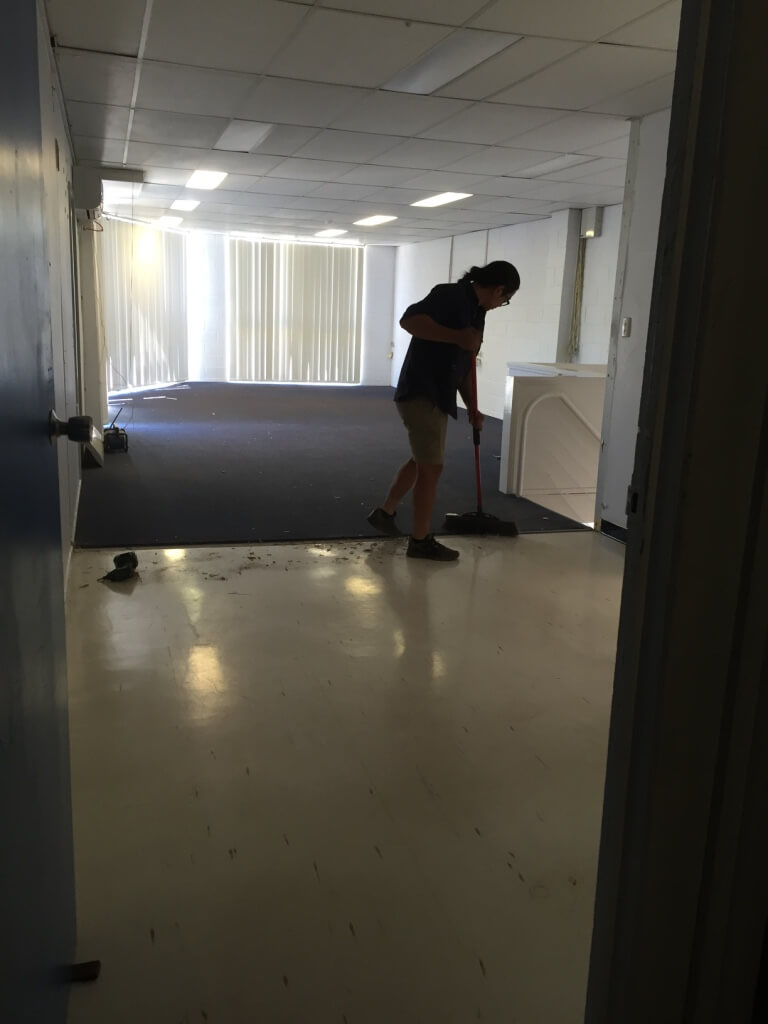
Step Seven: Making it feel like home. We’ve added new flooring in our waiting areas, have built change rooms, have brought in lots of comfy furniture and added ballet barres to our walls. Now we get to the fun part of hanging our favourite pictures and decorating before we open for the year in February!
It may sound like there were only seven steps to creating our studio, but keep in mind every single one of these steps took multiple days and lots of planning. This was also going on while we were planning and executing our end of year concert, planning our timetable and through Christmas and New Years!
It has been LOTS of work, but the end result of giving our dancers a place to feel at home makes it all worth it. I can’t wait to invite all our dancers to see it!
STUDIO TOURS are available on Monday 30 Jan, Tuesday 31 Jan and Wednesday 1 February from 4.30-6.00pm (no need to book, just come along). This is a great opportunity to introduce your dancer to our space before we start (most of) our classes on Monday 6 February.
Enjoy your last few days of holidays and I’ll see you all soon!
Miss Kaitlin


